Fashion
Well-Being
At Home
Travel
Culture
Places we love
Our story
Subscribe
Highlight Stories
Shopping Guide
36 Most Trusted Ethical And Sustainable Jewelry Brands Worldwide
Introducing ethical jewelry brands that treat our earth with respect.
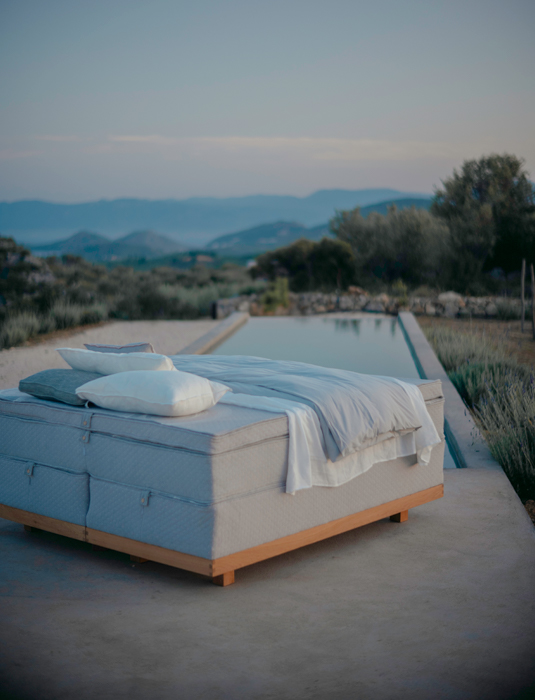
Advertisement created with COCO-MAT
COCO-MAT and the Natural Sleep Philosophy which we love
Advertisement created with rahua
Rahua Hair- and Bodycare
Beauty
German Beauty Brands To Watch
Yes Pam partners with Marie from Hamburg, Germany!
Editor's Column
In a fashion world between rich and poor
Who is getting richer?
Interior
9 Conscious Brands With Non-Toxic & Organic Bed Linen And Sheets
For a healthy sleep with colorful options.
Behind-The-Brand
Abel produces Natural Perfumes in New Zealand. We met the founder Frances in Amsterdam, where she has her European HQs.
read more
Fashion
Shopping Guide
Ultimate Guide To 7 Ethical Brands With Ear Piercings
Shopping Guide
Ethically-Made Woven and Straw bags and baskets we love
Shopping Guide
36 Most Trusted Ethical And Sustainable Jewelry Brands Worldwide
Introducing ethical jewelry brands that treat our earth with respect.
Advertisement created with KARAAT
This Brand Redefines Affordable Luxury with Sustainable Diamond Jewelry
Where affordability meets ethics.
Standards & Certifications
OEKO-TEX® STANDARD 100
Protecting you and your family.
Fibers & Materials
Piñatex Made From Ananas Fibers
When food waste becomes fashion.
Advertisement - Continue Reading Below
Well-Being
Love & Relationships
Why is self-reflection so important in a relationship?
Beauty
German Beauty Brands To Watch
Yes Pam partners with Marie from Hamburg, Germany!
Love & Relationships
the difference between being in love and love
Love & Relationships
10 things you should know about your partner before you commit
Behind-The-Brand
Abel produces Natural Perfumes in New Zealand. We met the founder Frances in Amsterdam, where she has her European HQs.
read more
At Home
Interior
Sustainable Home Office Furniture
Interior
The Ultimate Guide To Carpets
Cleaning & Organizing
How to clean your cast iron pan sponsored by STUR
Green Improvement
Why To Choose Eco Paint For A Healthy Environment
Advertisement - Continue Reading Below
Travel
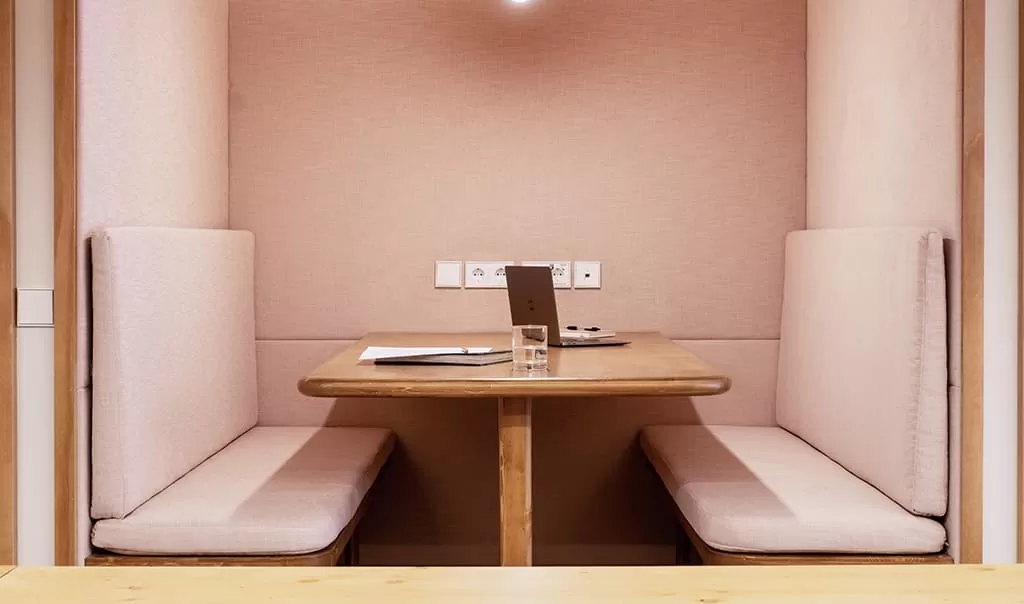
Specialty
zulu coworking
Hotels
,
Restaurants
Wythe Hotel
Restaurants
WILD & THE MOON
Behind-The-Brand
Abel produces Natural Perfumes in New Zealand. We met the founder Frances in Amsterdam, where she has her European HQs.
read more
Culture
Read, Watch & Learn
Women Empowering Movies
Earthical Q's
Why is the amazonas rainforest so important for climate change
Politics & Voices
What Journalists Think of Greenwashing in Fashion
Earthical Q's
what is microplastic?
Svg Vector Icons : http://www.onlinewebfonts.com/icon
Op Eds
What Journalists Think of Greenwashing in Fashion
By
MOCHNI Editors
OPINION ROUNDUP: small business owners on their financial wellbeing
By
MOCHNI Editors
Culture missapp..
By
MOCHNI Editors
“Sustainable Fashion Is not a trend but The Future”
By
MOCHNI Editors
Svg Vector Icons : http://www.onlinewebfonts.com/icon
Editor's Columns
In a fashion world between rich and poor
By
Antonia Böhlke
Behind-The-Brand
Abel produces Natural Perfumes in New Zealand. We met the founder Frances in Amsterdam, where she has her European HQs.
read more
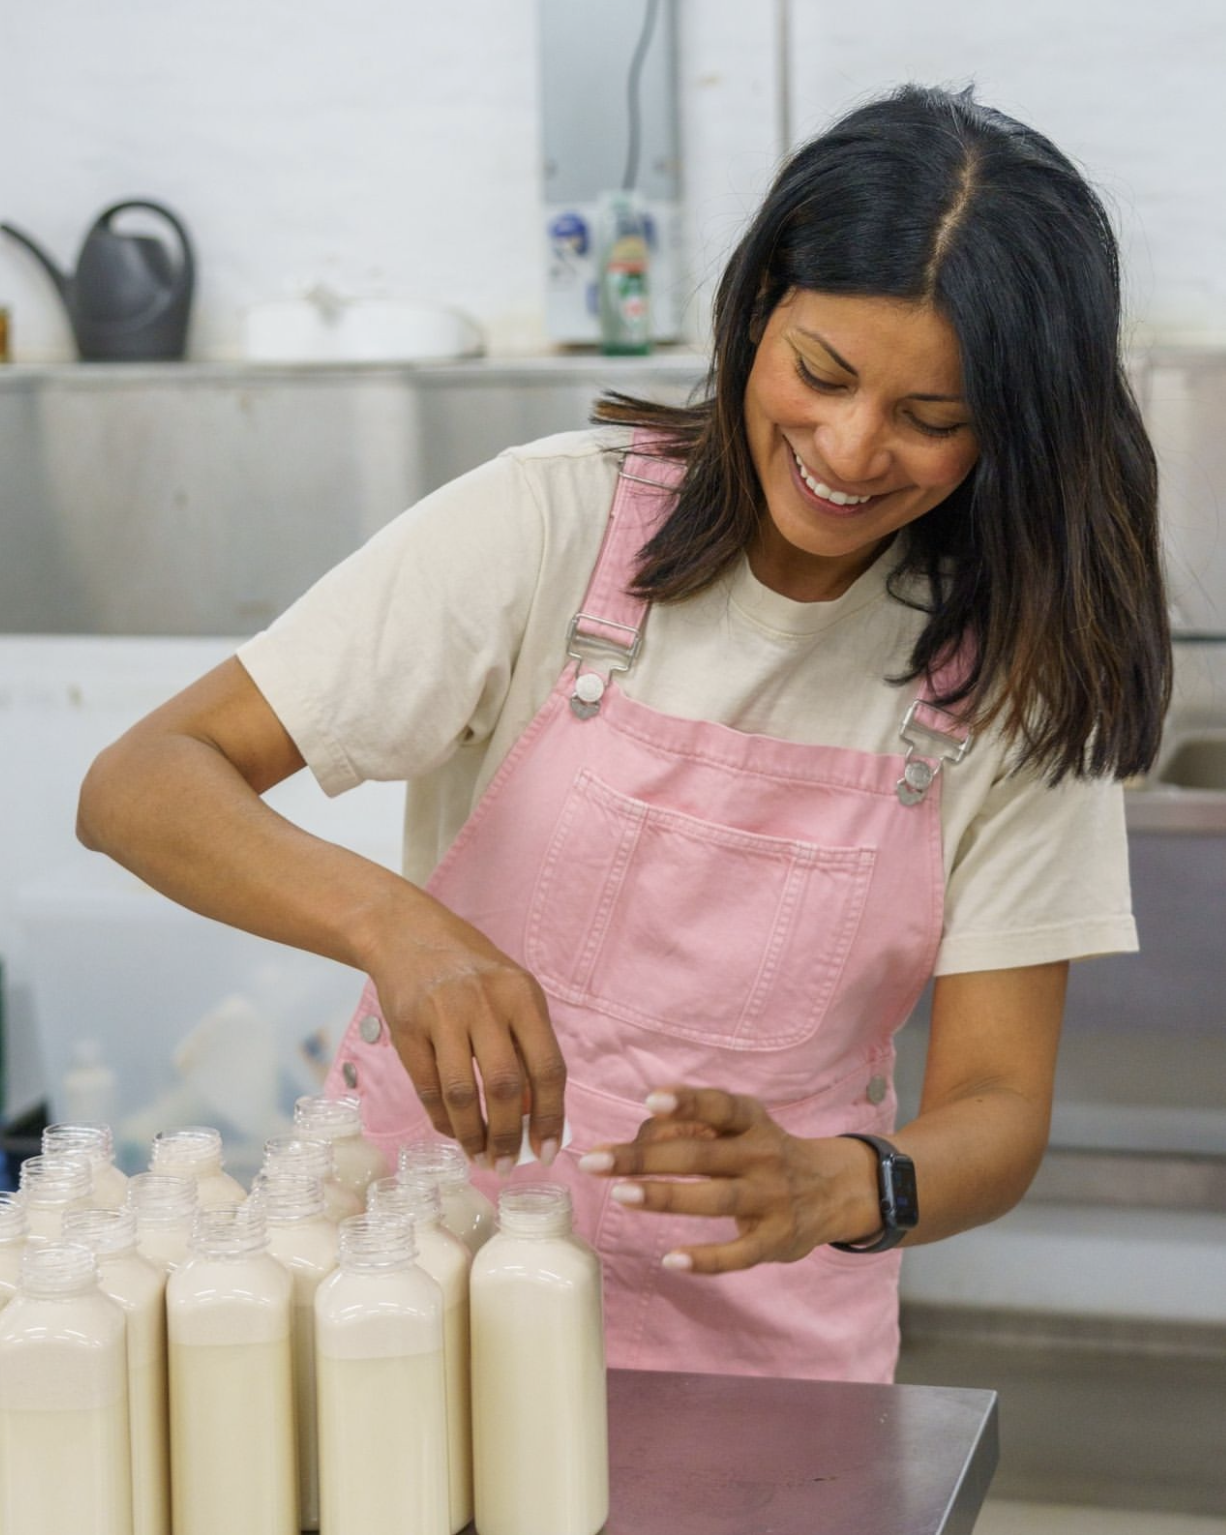
At The Job With
At The Job With
Elisabeth Van Lierop, Co-Founder Jus Jus
At The Job With
Josefine: Founder TÔNN Furniture, Stockholm
At The Job With
Rens Kroes: Cookbook Author, Mother & Founder
Advertisement - Continue Reading Below
More Stories
Ultimate Guide To 7 Ethical Brands With Ear Piercings
Ethically-Made Woven and Straw bags and baskets we love
36 Most Trusted Ethical And Sustainable Jewelry Brands Worldwide
This Brand Redefines Affordable Luxury with Sustainable Diamond Jewelry
Sustainable Home Office Furniture
The Ultimate Guide To Carpets
How to clean your cast iron pan sponsored by STUR
What Journalists Think of Greenwashing in Fashion
OPINION ROUNDUP: small business owners on their financial wellbeing
In The Jungle Of Thailand
Water Bottles
Travel Luggage
Scroll To Top
Fashion
Well-Being
At Home
Travel
Culture
Places We Love
Our Story
Fashion
Well-Being
At Home
Travel
Culture
Places We Love
Our Story
Fashion
Well-Being
At Home
Travel
Culture
Places We Love
Our Story
Newsletter
Editorial Guidelines
Advertising
Contact Us
Terms of Use
Privacy Policy
Legal Notice
Editorial Guidelines
Advertising
Contact Us
Terms of Use
Privacy Policy
Legal Notice
Instagram
Youtube
© 2015-2024 MOCHNI Media Group
We'll be back with a relaunch at the end of May. During this time, we will be rebuilding our backend technology...
…Now, take a deep breath and relax in this moment…
Legal Notice